
For this brief, we were given the task to portray the theme of Home through a series of images that use different creative image making techniques.
For the Creative Camera Technique, I started with zooming. This also included the use of shutter speeds and blurring. To achieve my images, I chose subjects in and around where I live. I tested multiple ways of moving the camera, including zooming in and out, panning, moving the camera up and down, and twisting it.
I found it strange to move the camera around as I was shooting as it goes against what I usually do, but the results are interesting to look at. I enjoyed experimenting with how my images looked and I think that the technique can make any normal subject look interesting.


The next technique I tried out was the use of special effect filters. Instead of using acetate sheets, I coloured cut up bits of clingfilm using coloured pens. I then shot my images, putting different colours in front of the lens. I was also able to layer the colours to create a different look each time.
I really enjoyed this technique, as it created a unique feel to my images.


For the Darkroom Techniques, I decided to focus mainly on pseudo-solarisation. Instead of doing this the traditional way, in a darkroom, I created my images using Photoshop.
To create my images, I first selected two photographs in the theme of Home that I thought would work well.
Once I had my images, I opened them up in Photoshop. The first step was to convert the image to black and white. I done this by opening the Layer tab > New Adjustment Layer > Hue and Saturation. This then allowed me to move the saturation slider all the way to the the left, removing all colours in the image. The next step was to then open up a new layer by going to Layer > New Adjustment Layer > Curves. This then allowed me to ‘draw’ an inverted V on the pallet, which in turn gave me the base of my pseudo-solarisation image. All that was left to do was adjust the images slightly until I was happy with them.
I really enjoyed using this method and found myself very happy with how my final images turned out.


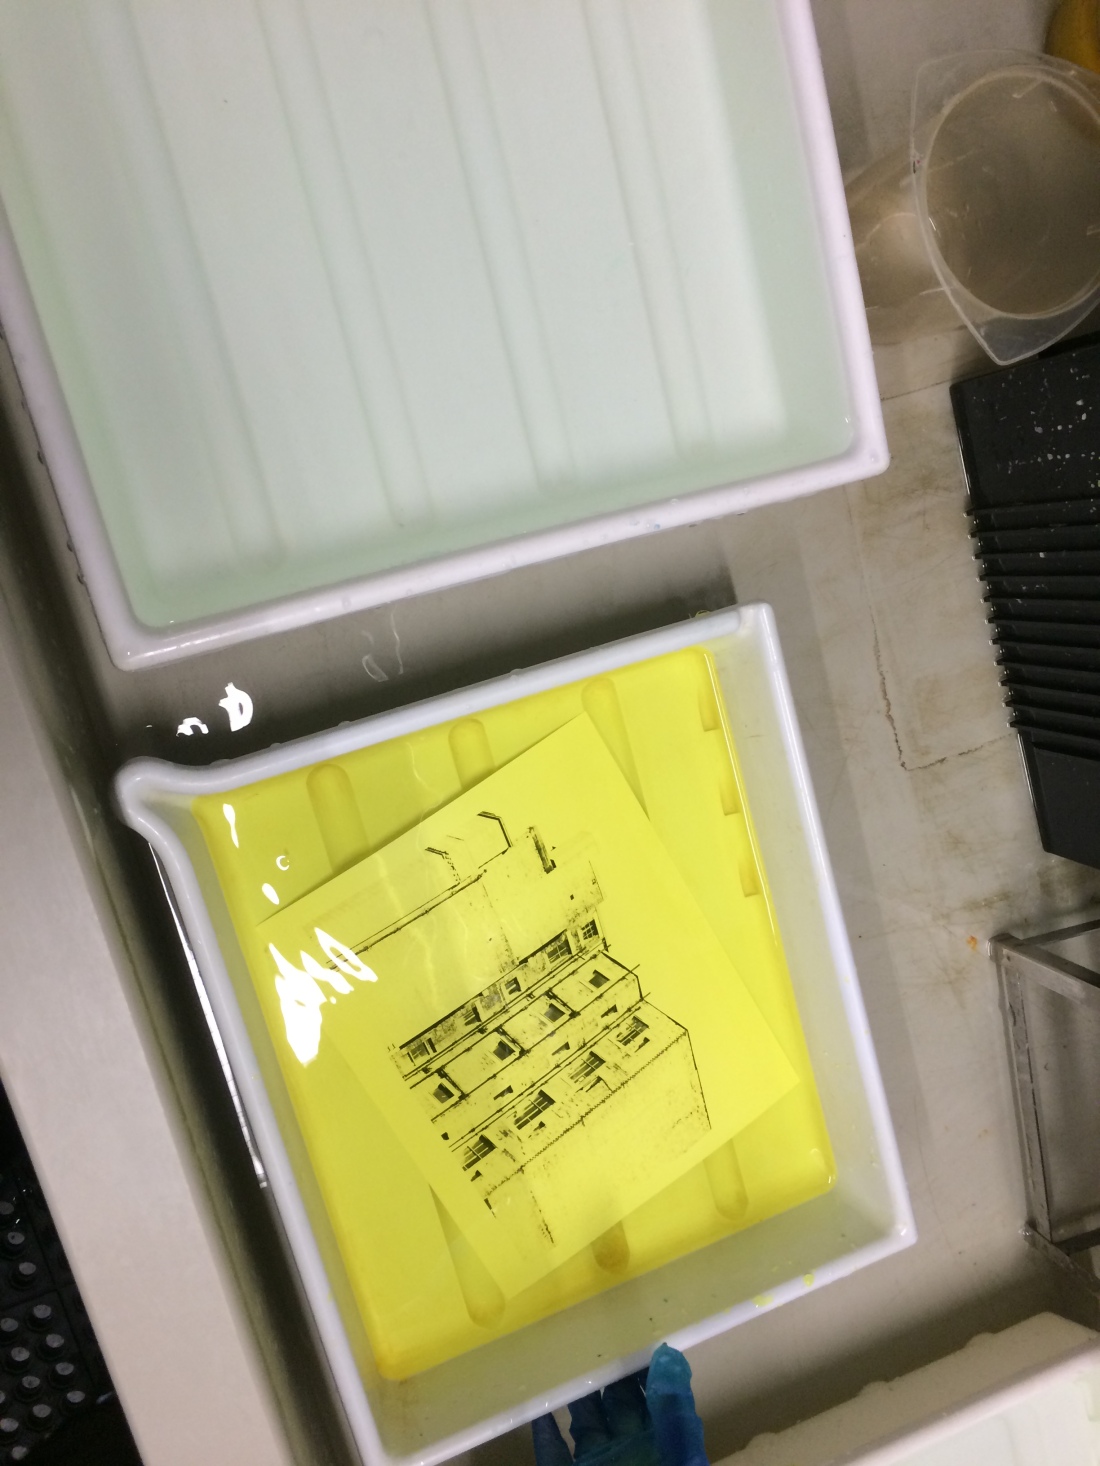
Another Darkroom technique that I tried was Toning. I done this the traditional way, using one of my own darkroom prints and a toning bath.
To tone my print, the first step was to wash it in a water bath for around 10 minutes. Once my print was washed, I then placed it in a bath of “blue toner” for around another 10 minutes, making sure I used gloves when keeping it from floating to the top. When I was happy with the colour of the image, it was taken out of the toner and put back into the water bath to wash the excess off. I lightly cleaned the border of my print by rubbing it until it was as white as possible. After the cleaning process, it was then left to dry.
I found it very satisfying to tone my print, as the finished print had a lovely blue colour to it that made the image pop. I would use this technique in the future, as it is extremely rewarding.


For the mixed media and digital techniques, I created three images. The first image was created using digital layers and the use of texture screens. First I selected my main image, then a texture image to be layered on. I them put the image and texture onto the same document in Photoshop. This was simply done by pasting the texture onto my image. This resulted in the texture becoming a layer. I then adjusted the size of the texture to fit over my image. Once the layer was created, I blended the two layers using the Blend Mode option, and decided what on fit best with my desired look. I then desaturated the colour from the texture layer. Then all that was left to do was adjust the opacity of the texture, and make any more final adjustments.
I found this method interesting to try and create, but rewarding when the final image was created.


The second image was created using Image Distortion. The first step was to select an image that best fit, then I opened it in Photoshop.
Distorting the image was fairly simple. All that I needed to do was to select the Lens Correction Tool. I then went to Edit > Transform. From there, I was able to choose multiple options; Free / Skew / Perspective / Rotate /Warp / Puppet Warp. I played about with how I wanted my image to look until I was happy with it.
I found this technique fun to do, as it gave me a lot of freedom. I’m very pleased with how my final image turned out.


The last technique I used was Double Exposure. To do this, I selected a portrait with a white background and opened it in Photoshop. The next step was to cut out the figure using the pen tool. I created a new blank A4 landscape canvas and pasted my cut out figure onto it. Once I had my base, the next step was to select a background image to merge with my portrait. When I found my image, I then pasted it onto my portrait and resized it to fit. All that was left to do was to change the option to Overlay and change the opacity of the background.
I found this one of the more challenging techniques, but very rewarding as the final image turned out reeky well.


Contact Sheet 1:

Contact Sheet 2:

Typology:

